Access Tokens
Access tokens allow you to authenticate with the veHaaS API without using your personal credentials. The access granted by a token depends on the role assigned to it. You can limit the scope by assigning specific roles, and set an expiration date to ensure the token is only valid for a defined period.
Group-level tokens are backed by a Technical User — a system-created account that holds the token's permissions on behalf of the group.
Access token scopes
Organization-level tokens are created and managed by organization admins. See Manage Access Tokens.
Group-level tokens:
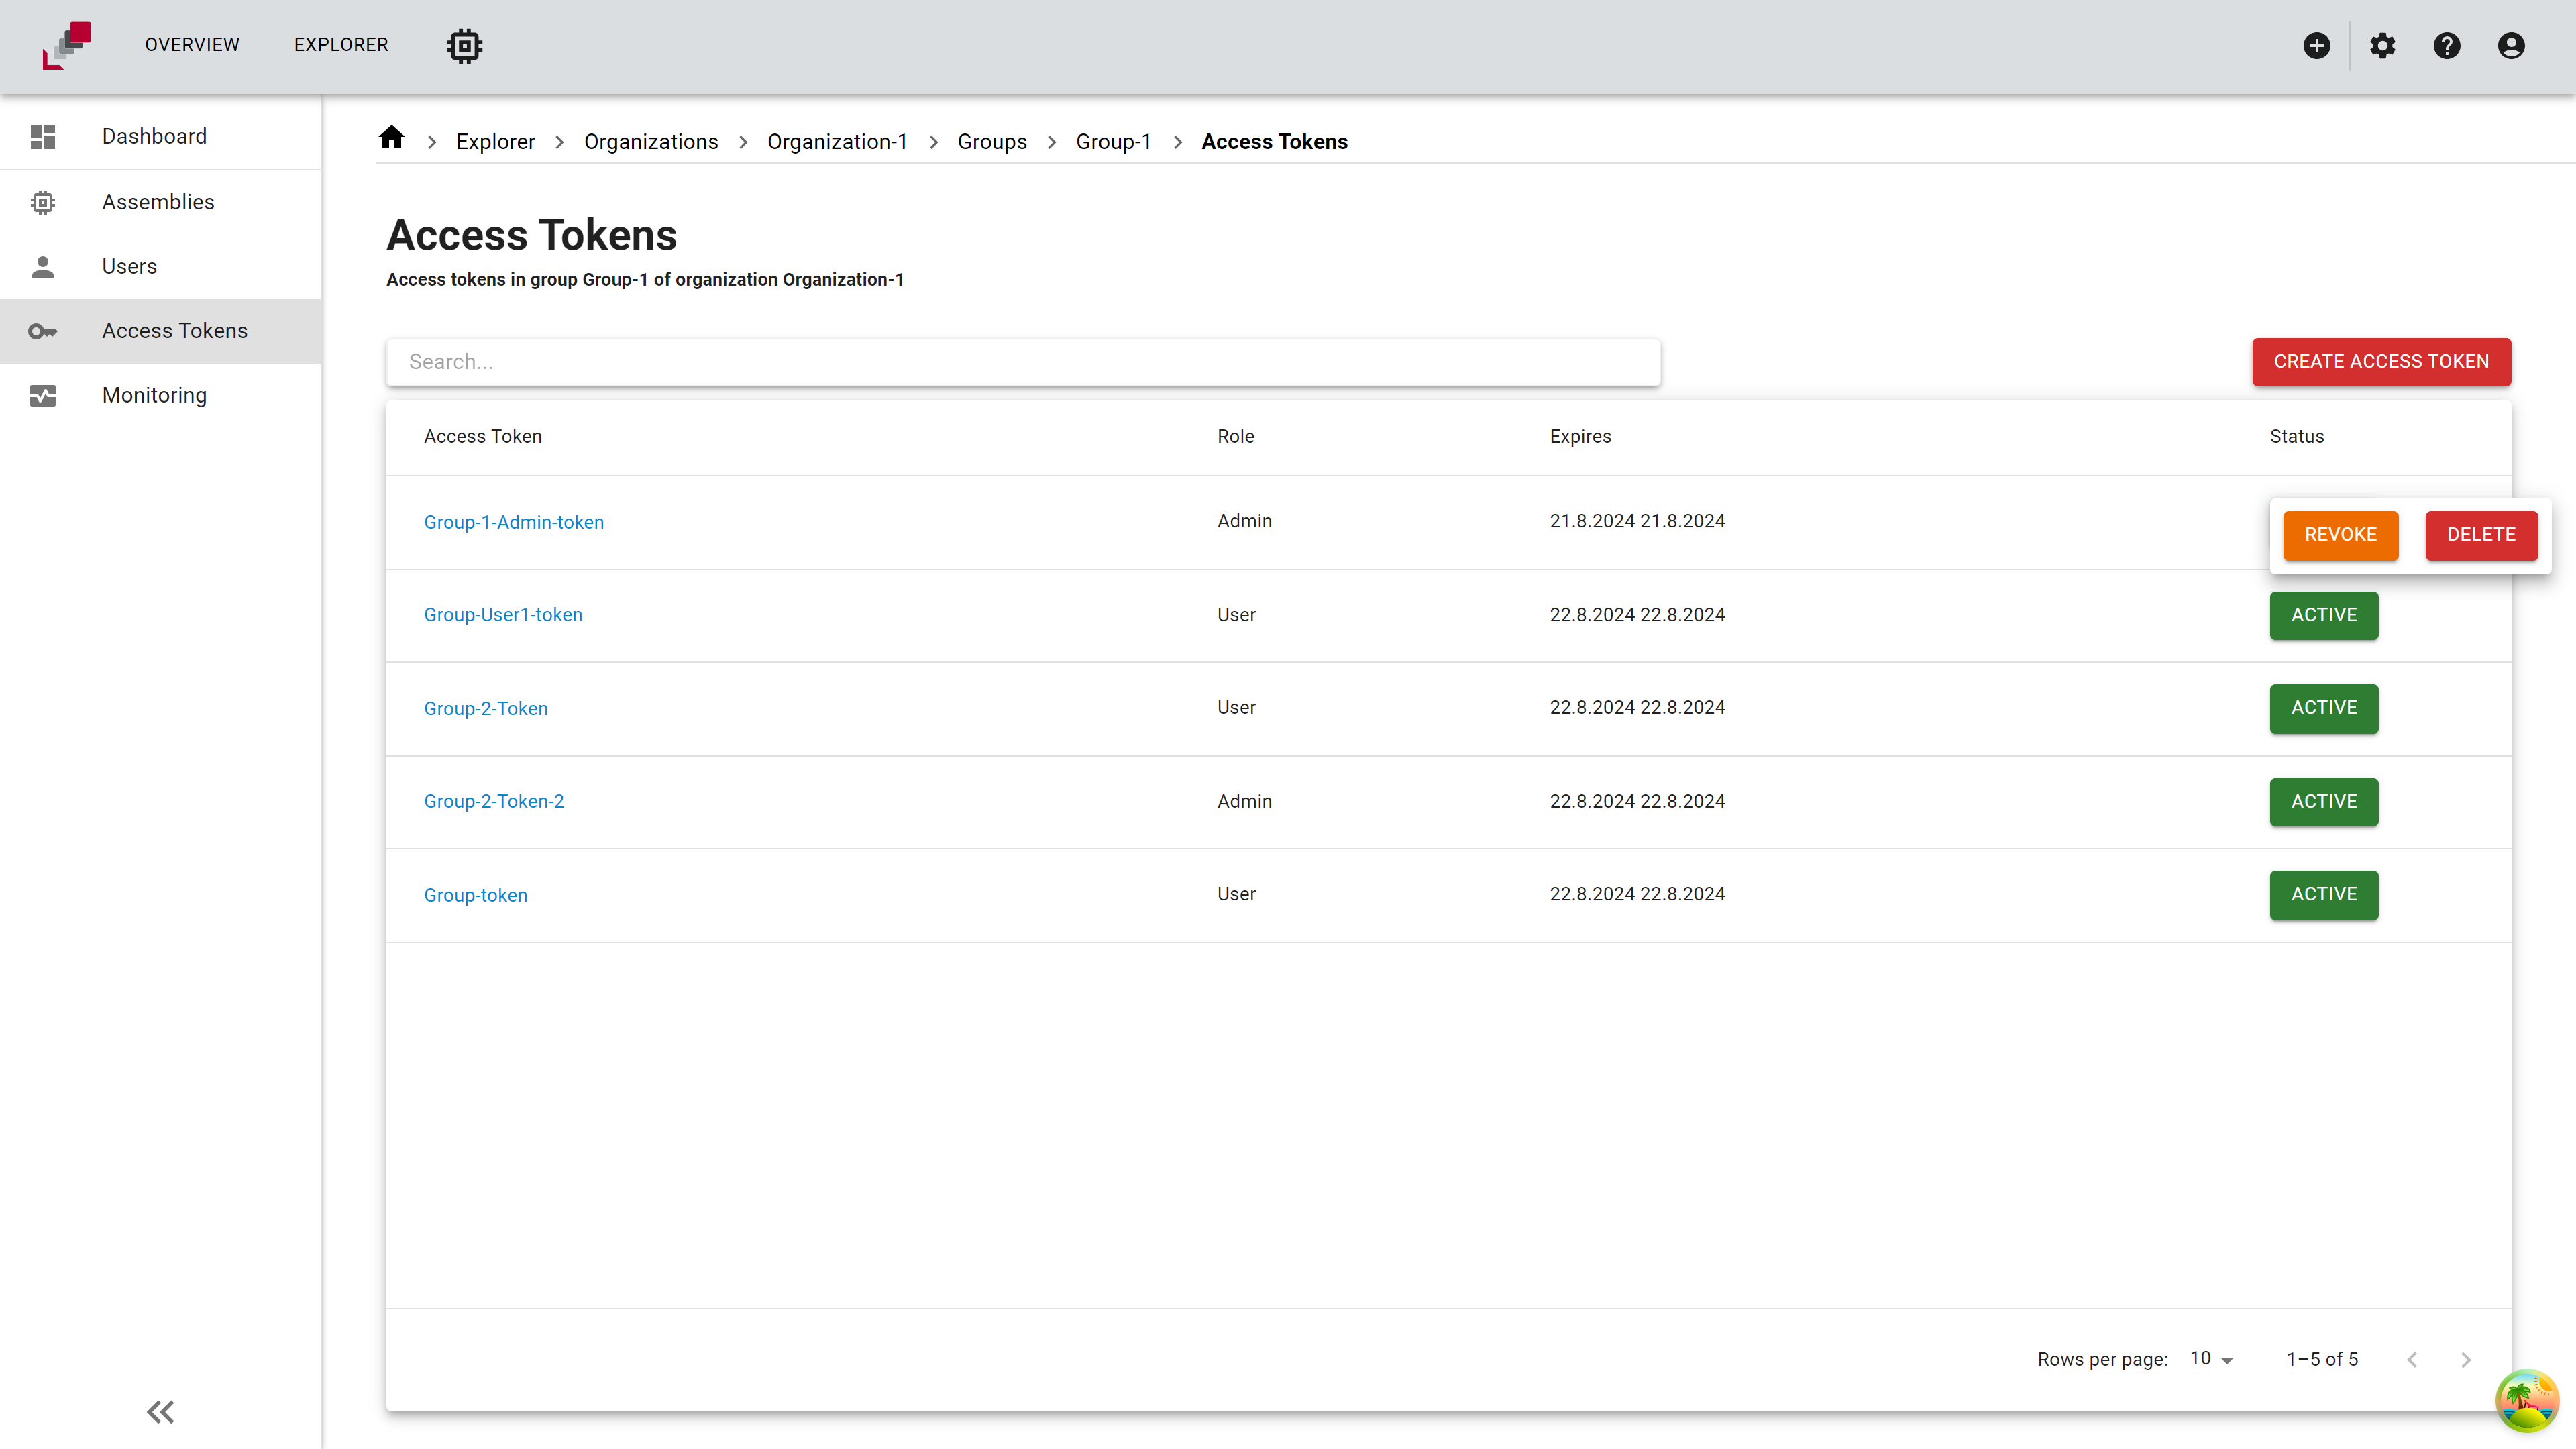
Group level tokens can be managed in the "Access Tokens" tab in the "Group" page. Here you can view existing tokens, create new tokens, and revoke or delete tokens for a group. With this token you can work with all resources that can be accessed with the assigned group role (group admin, group user). The token can only be created by a user with group admin role.
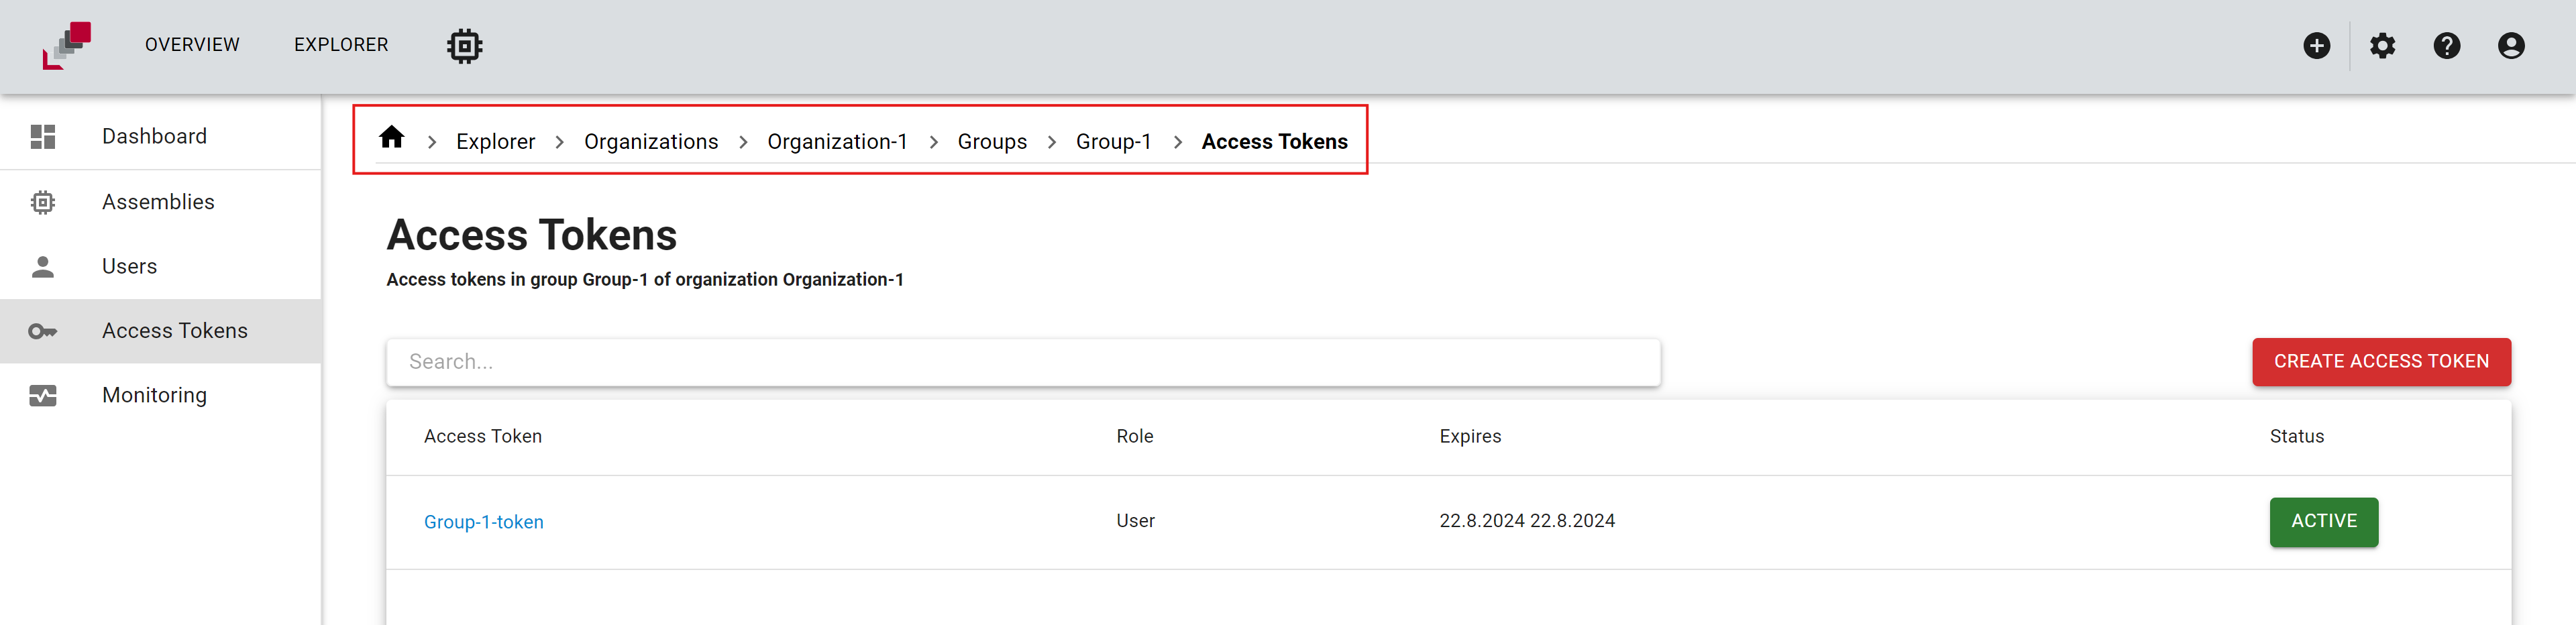
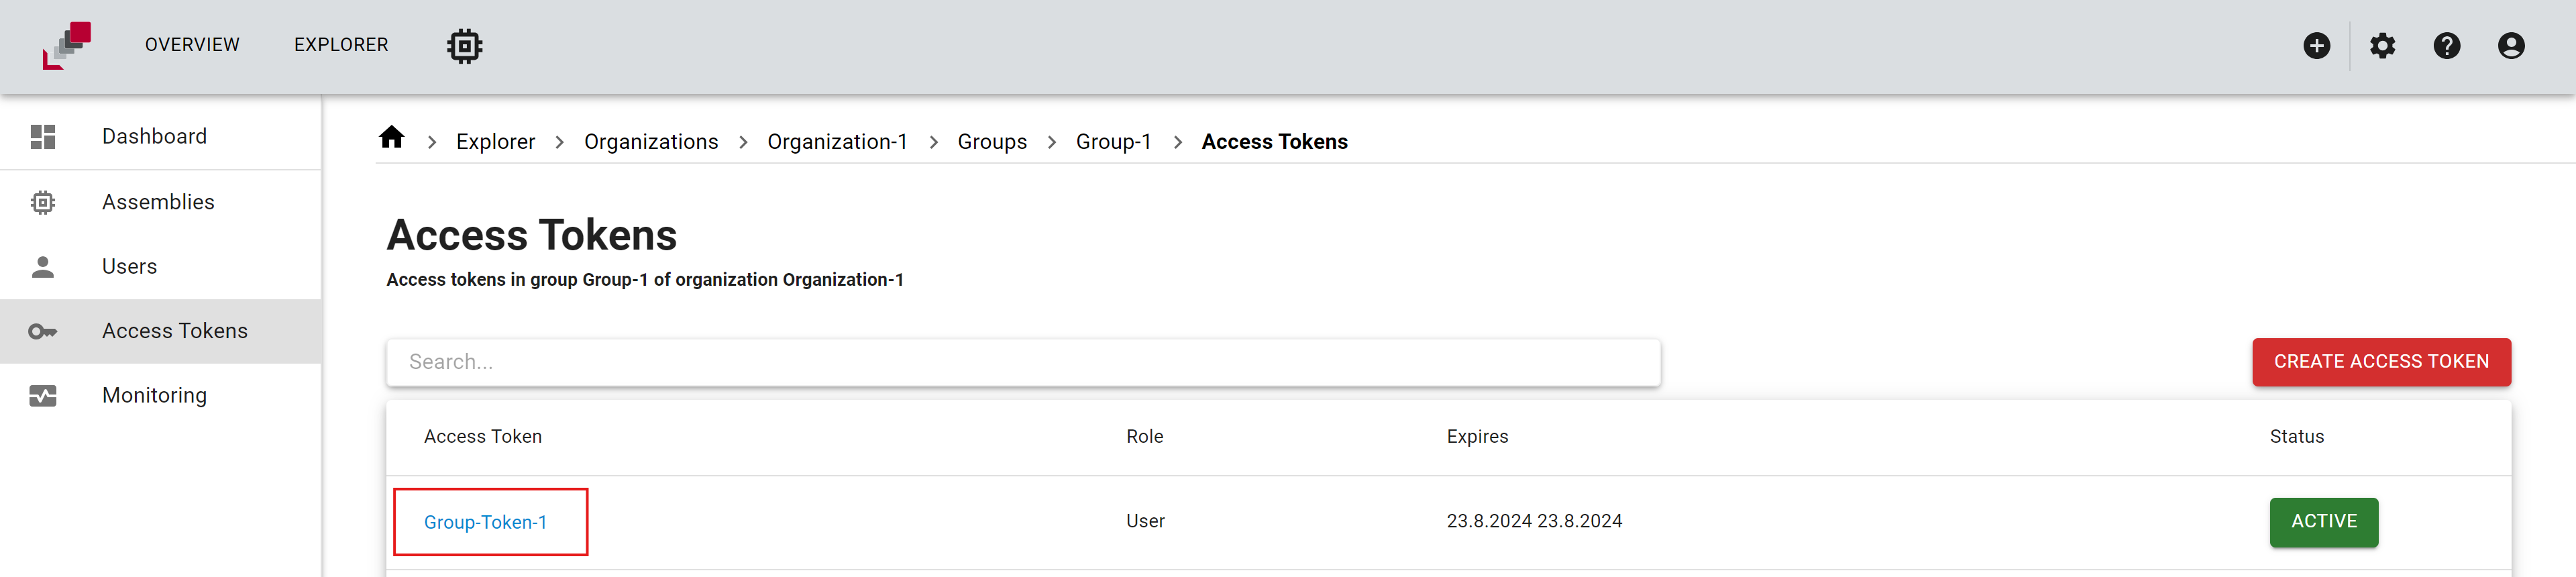
How to create an access token
To create an access token, follow these steps:
- Go to the Group's Access Token Page
- Click on "Create Access Token" Button
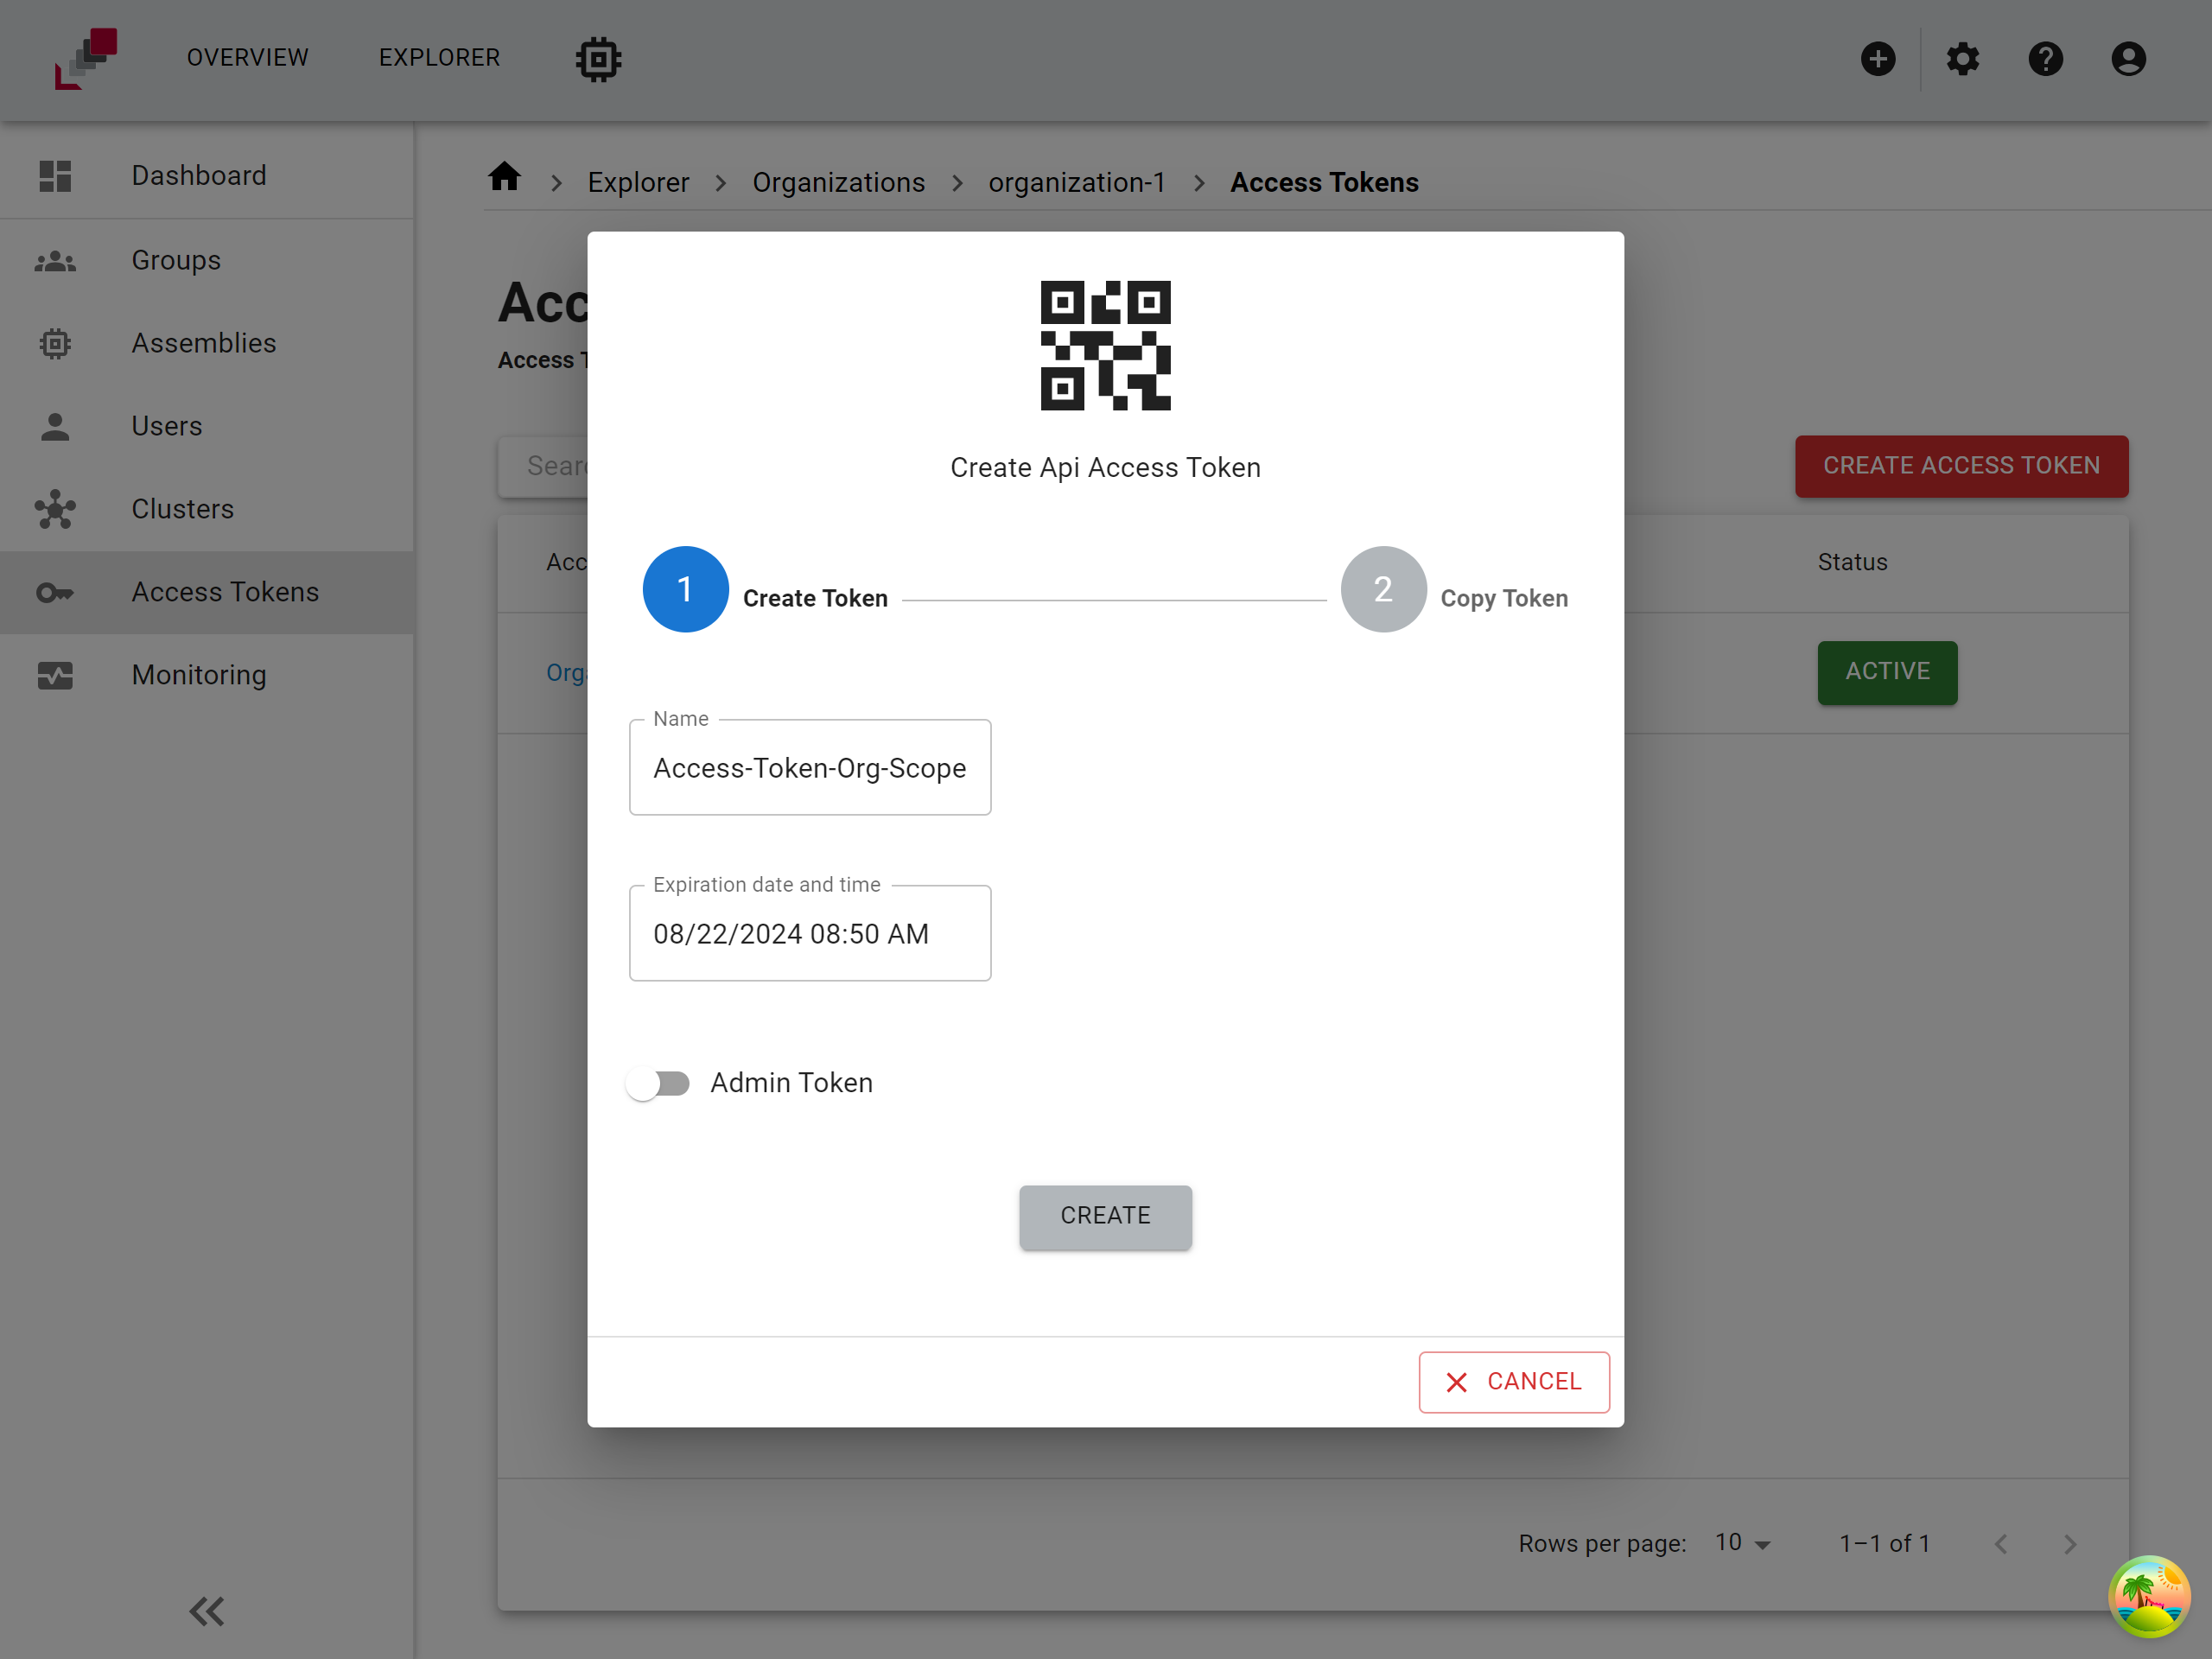
- Set Token Details
-
A dialog will open where you can set the following details:
- Token Name: Enter a name for your token.
- Expiration Date: Set the expiration date for the token.
- Admin Role Assignment: Choose whether the admin role should be assigned to the token.
-
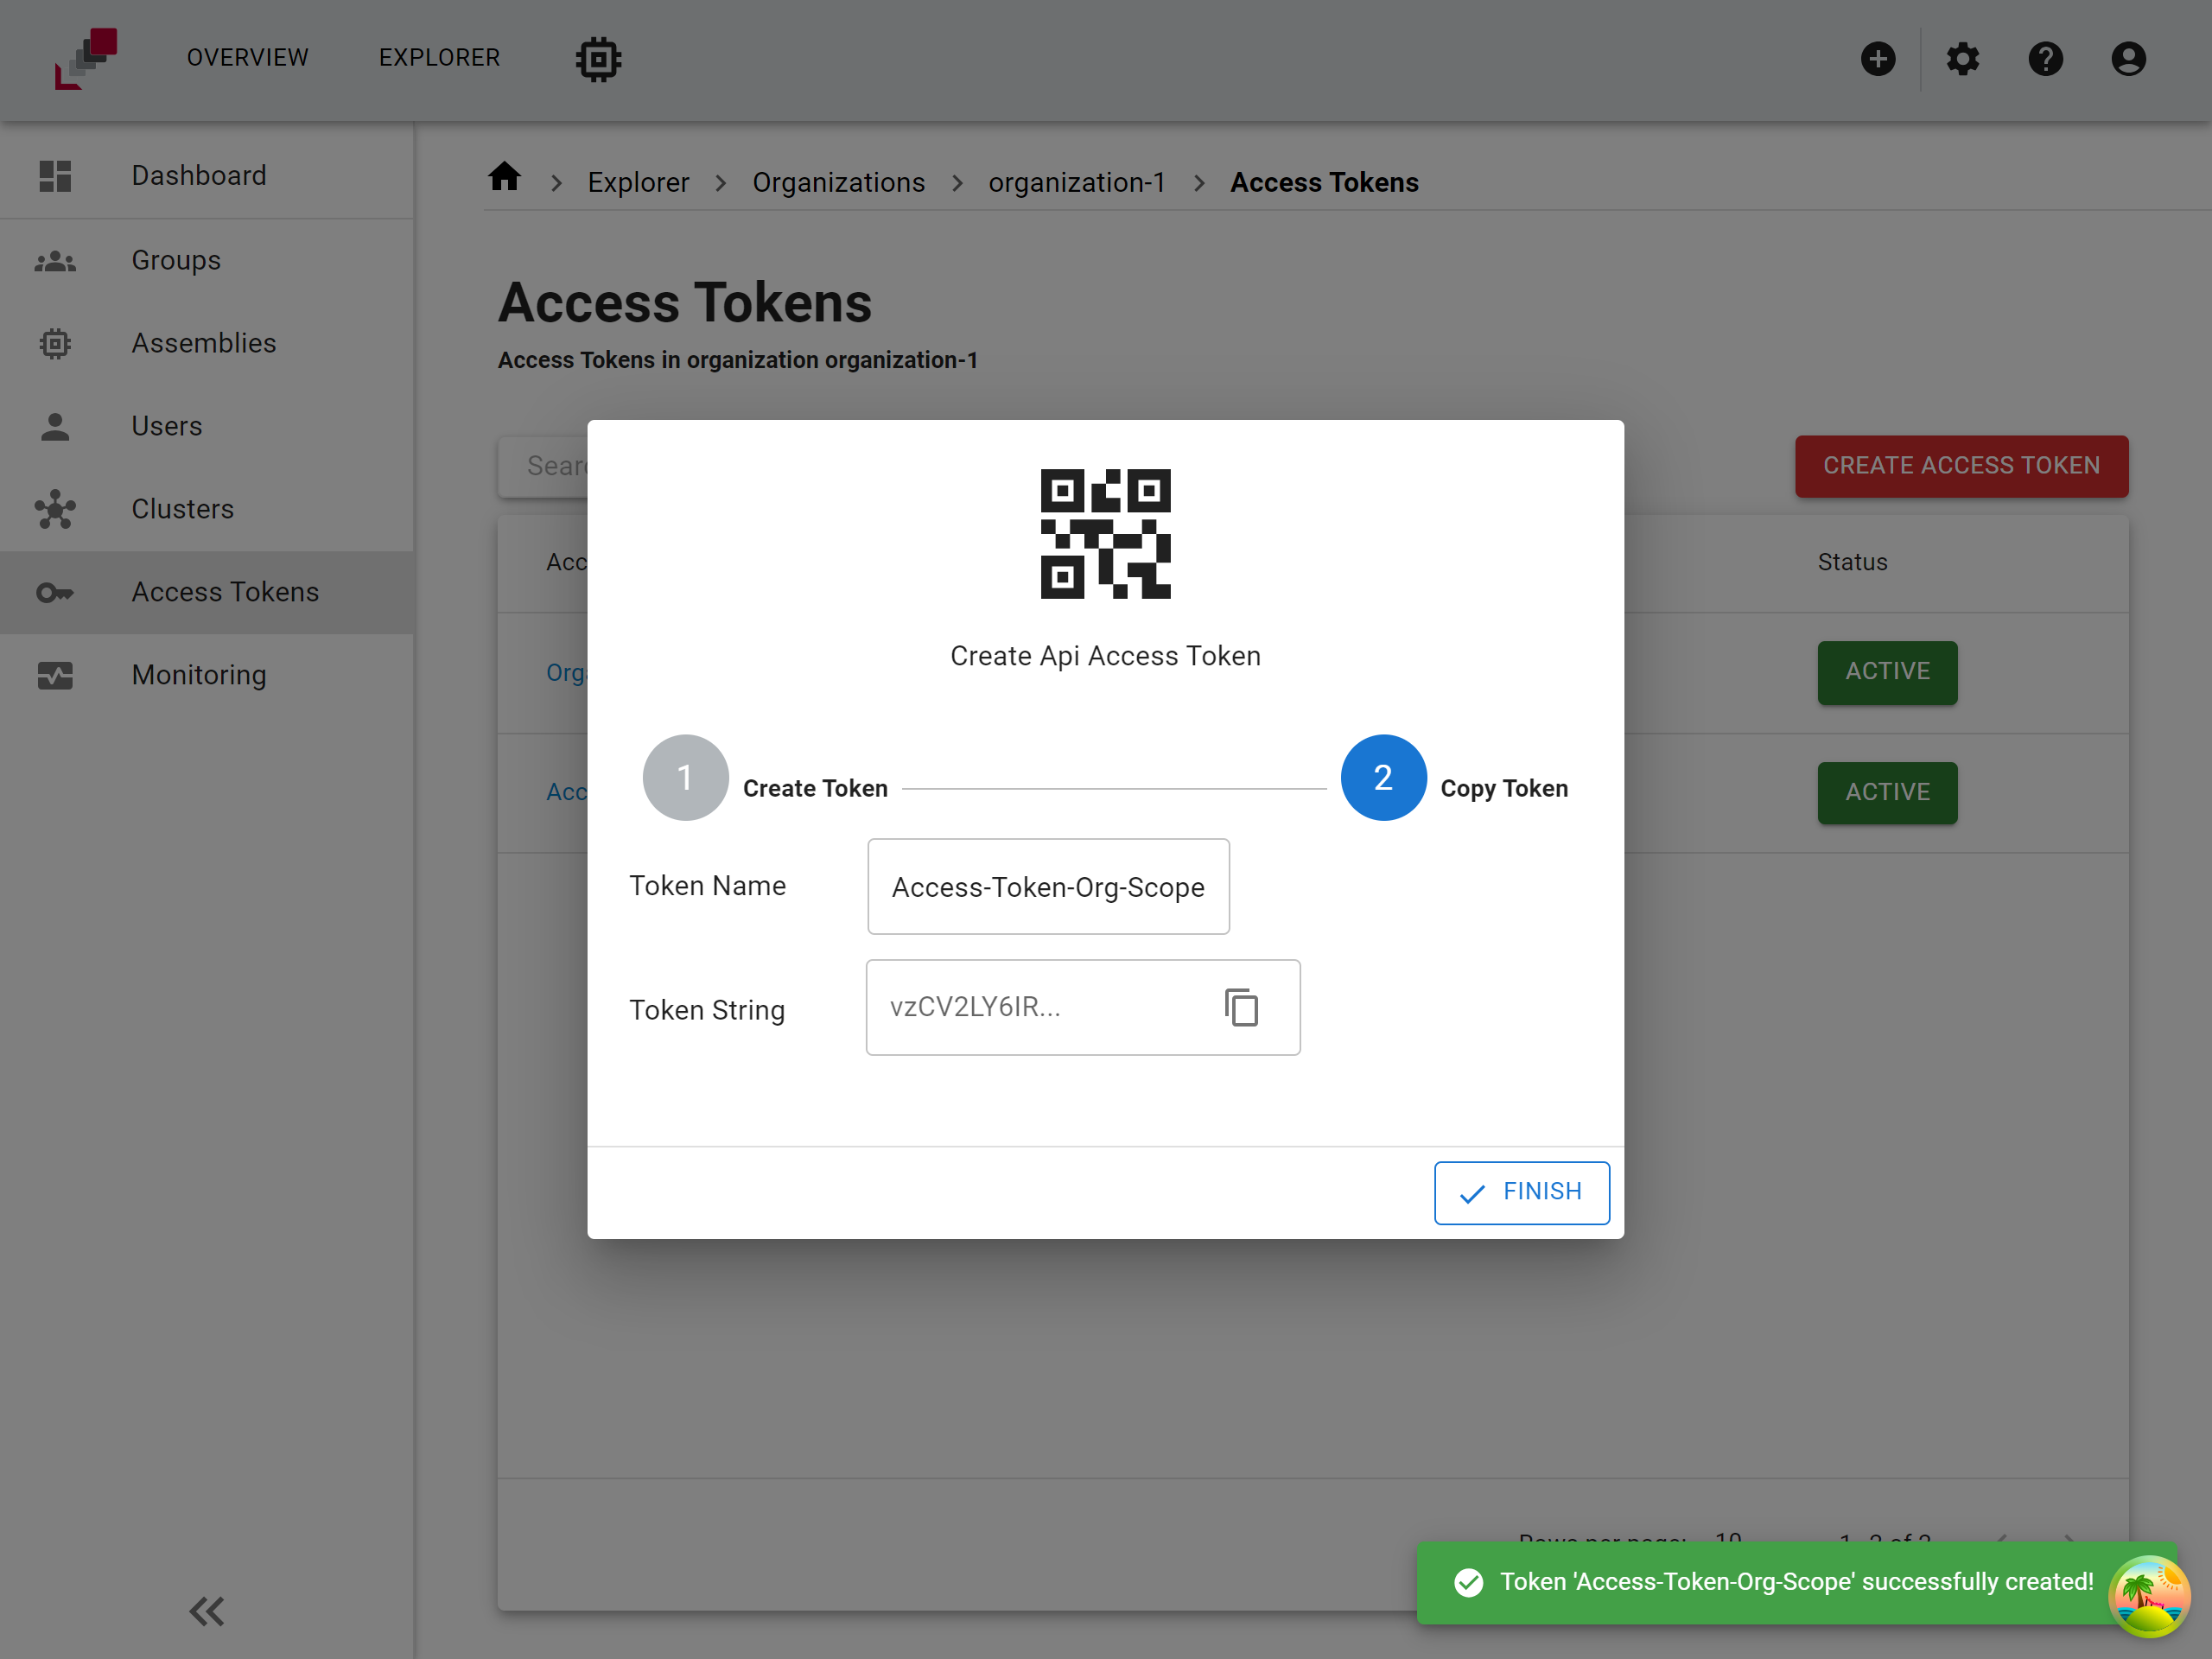
Click on "Create" Button
Copy and store the access token in a secure location. You will not be able to view the token again after you leave or refresh the page.
How to manage access tokens
Access tokens can be managed by revoking or deleting them. To manage an access token, click on the button in the "Status" column. Depending on the token status, you will be presented with multiple options:
- Revoke Token: This option will temporarily disable the token.
- Delete Token: This option will permanently delete the token. Note that once a token is deleted, it cannot be recovered.
Please ensure that you manage your tokens carefully to maintain the security of your application. Deleting a token is a permanent action and should be done with caution.
Additional settings for access tokens
To view additional settings for an access token, click on the token's name. Here, you can configure version control access and environment variables for the token.
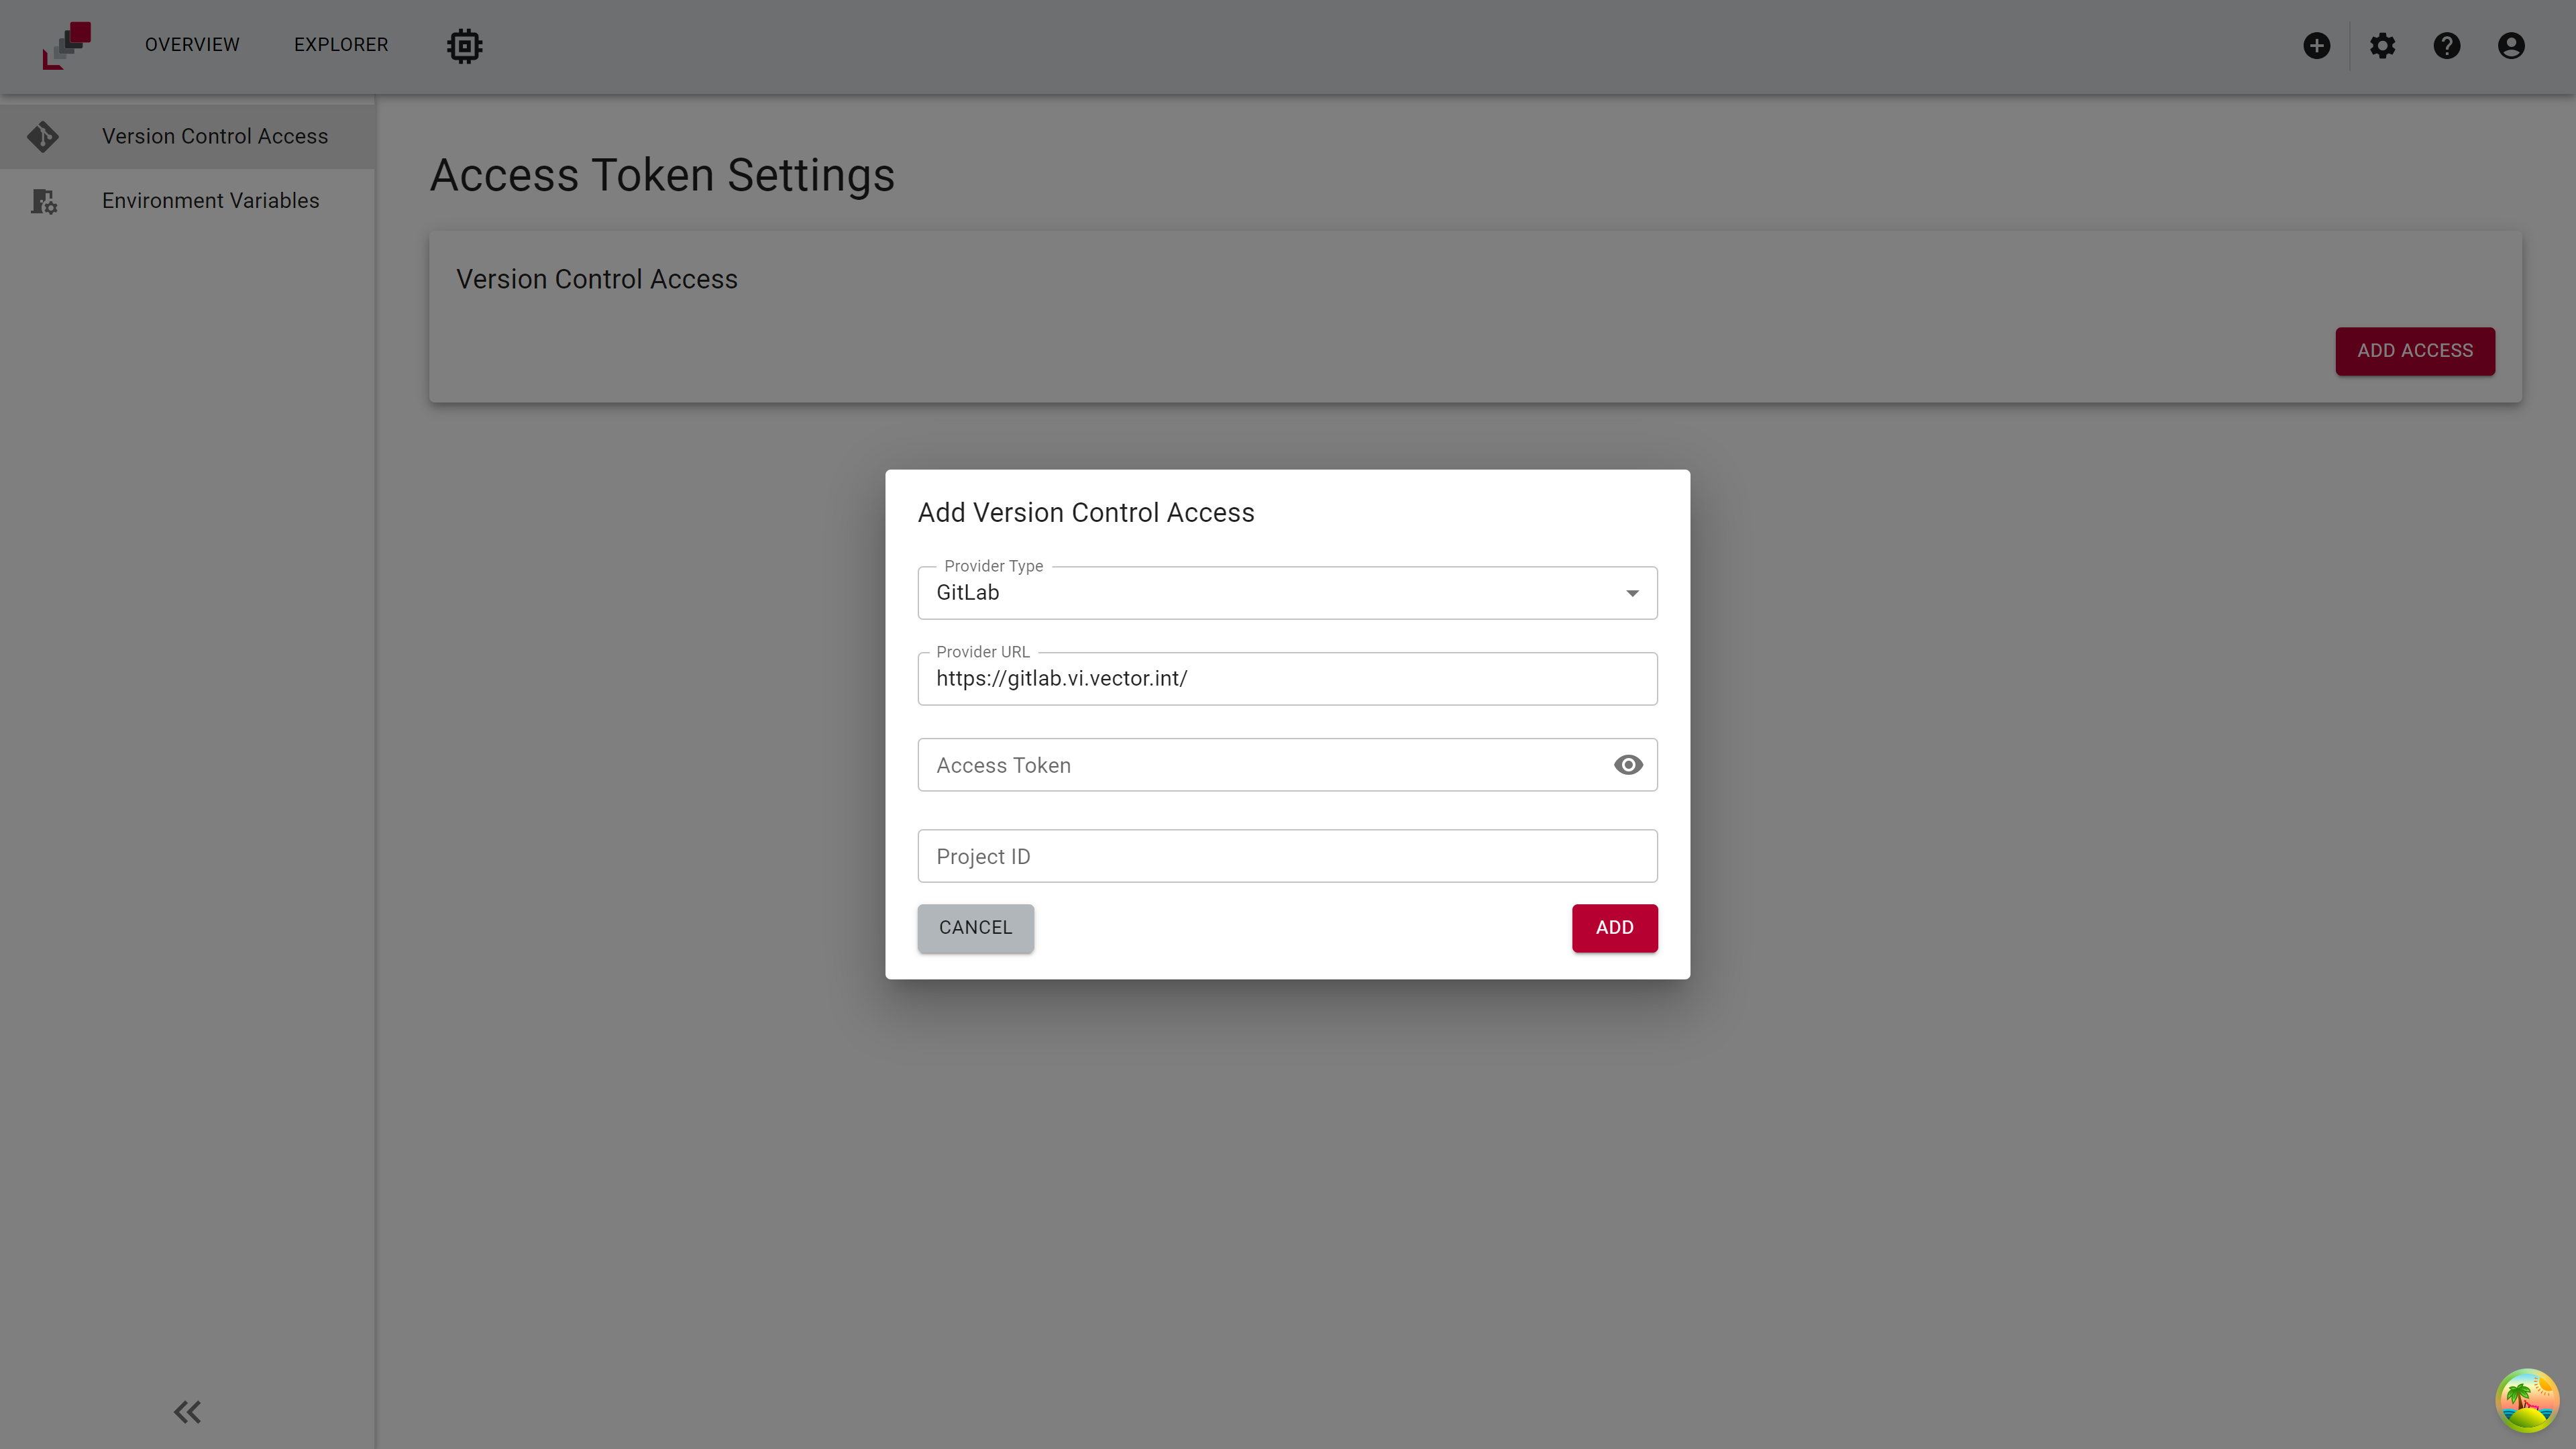
Version Control Access
In the "Version Control Access" tab, you can add an access token for a specific project in your version control system.
- Click on the "Add Access" button.
-
A dialog will open where you can set the following details:
-
Provider Type: Select the version control provider (GitLab or GitHub).
- Provider URL: Enter the host URL of the version control provider (e.g.
https://gitlab.example.com/). - Access Token: Provide the access token for the version control provider.
- Token Scope: Whether a group or project access token is used.
-
Project/Group ID: Enter the ID of the project or group in the version control system that needs to access the registered runner.
-
Click on the "Add" button to confirm.
Personal Tokens for Version Control Access
It is highly recommended NOT to use personal access tokens for version control access of veHaaS access tokens. Instead, create a dedicated project or group access token within your version control system. This is because the provided token is used to register a GitLab runner in the specified group or project. This registration is only feasible if the access token has the necessary permissions for the group or project, which can be ensured by using an access token specifically for the referenced group or project.
Personal Access Tokens are used for SSH Key Setup in the user profile which is described here.
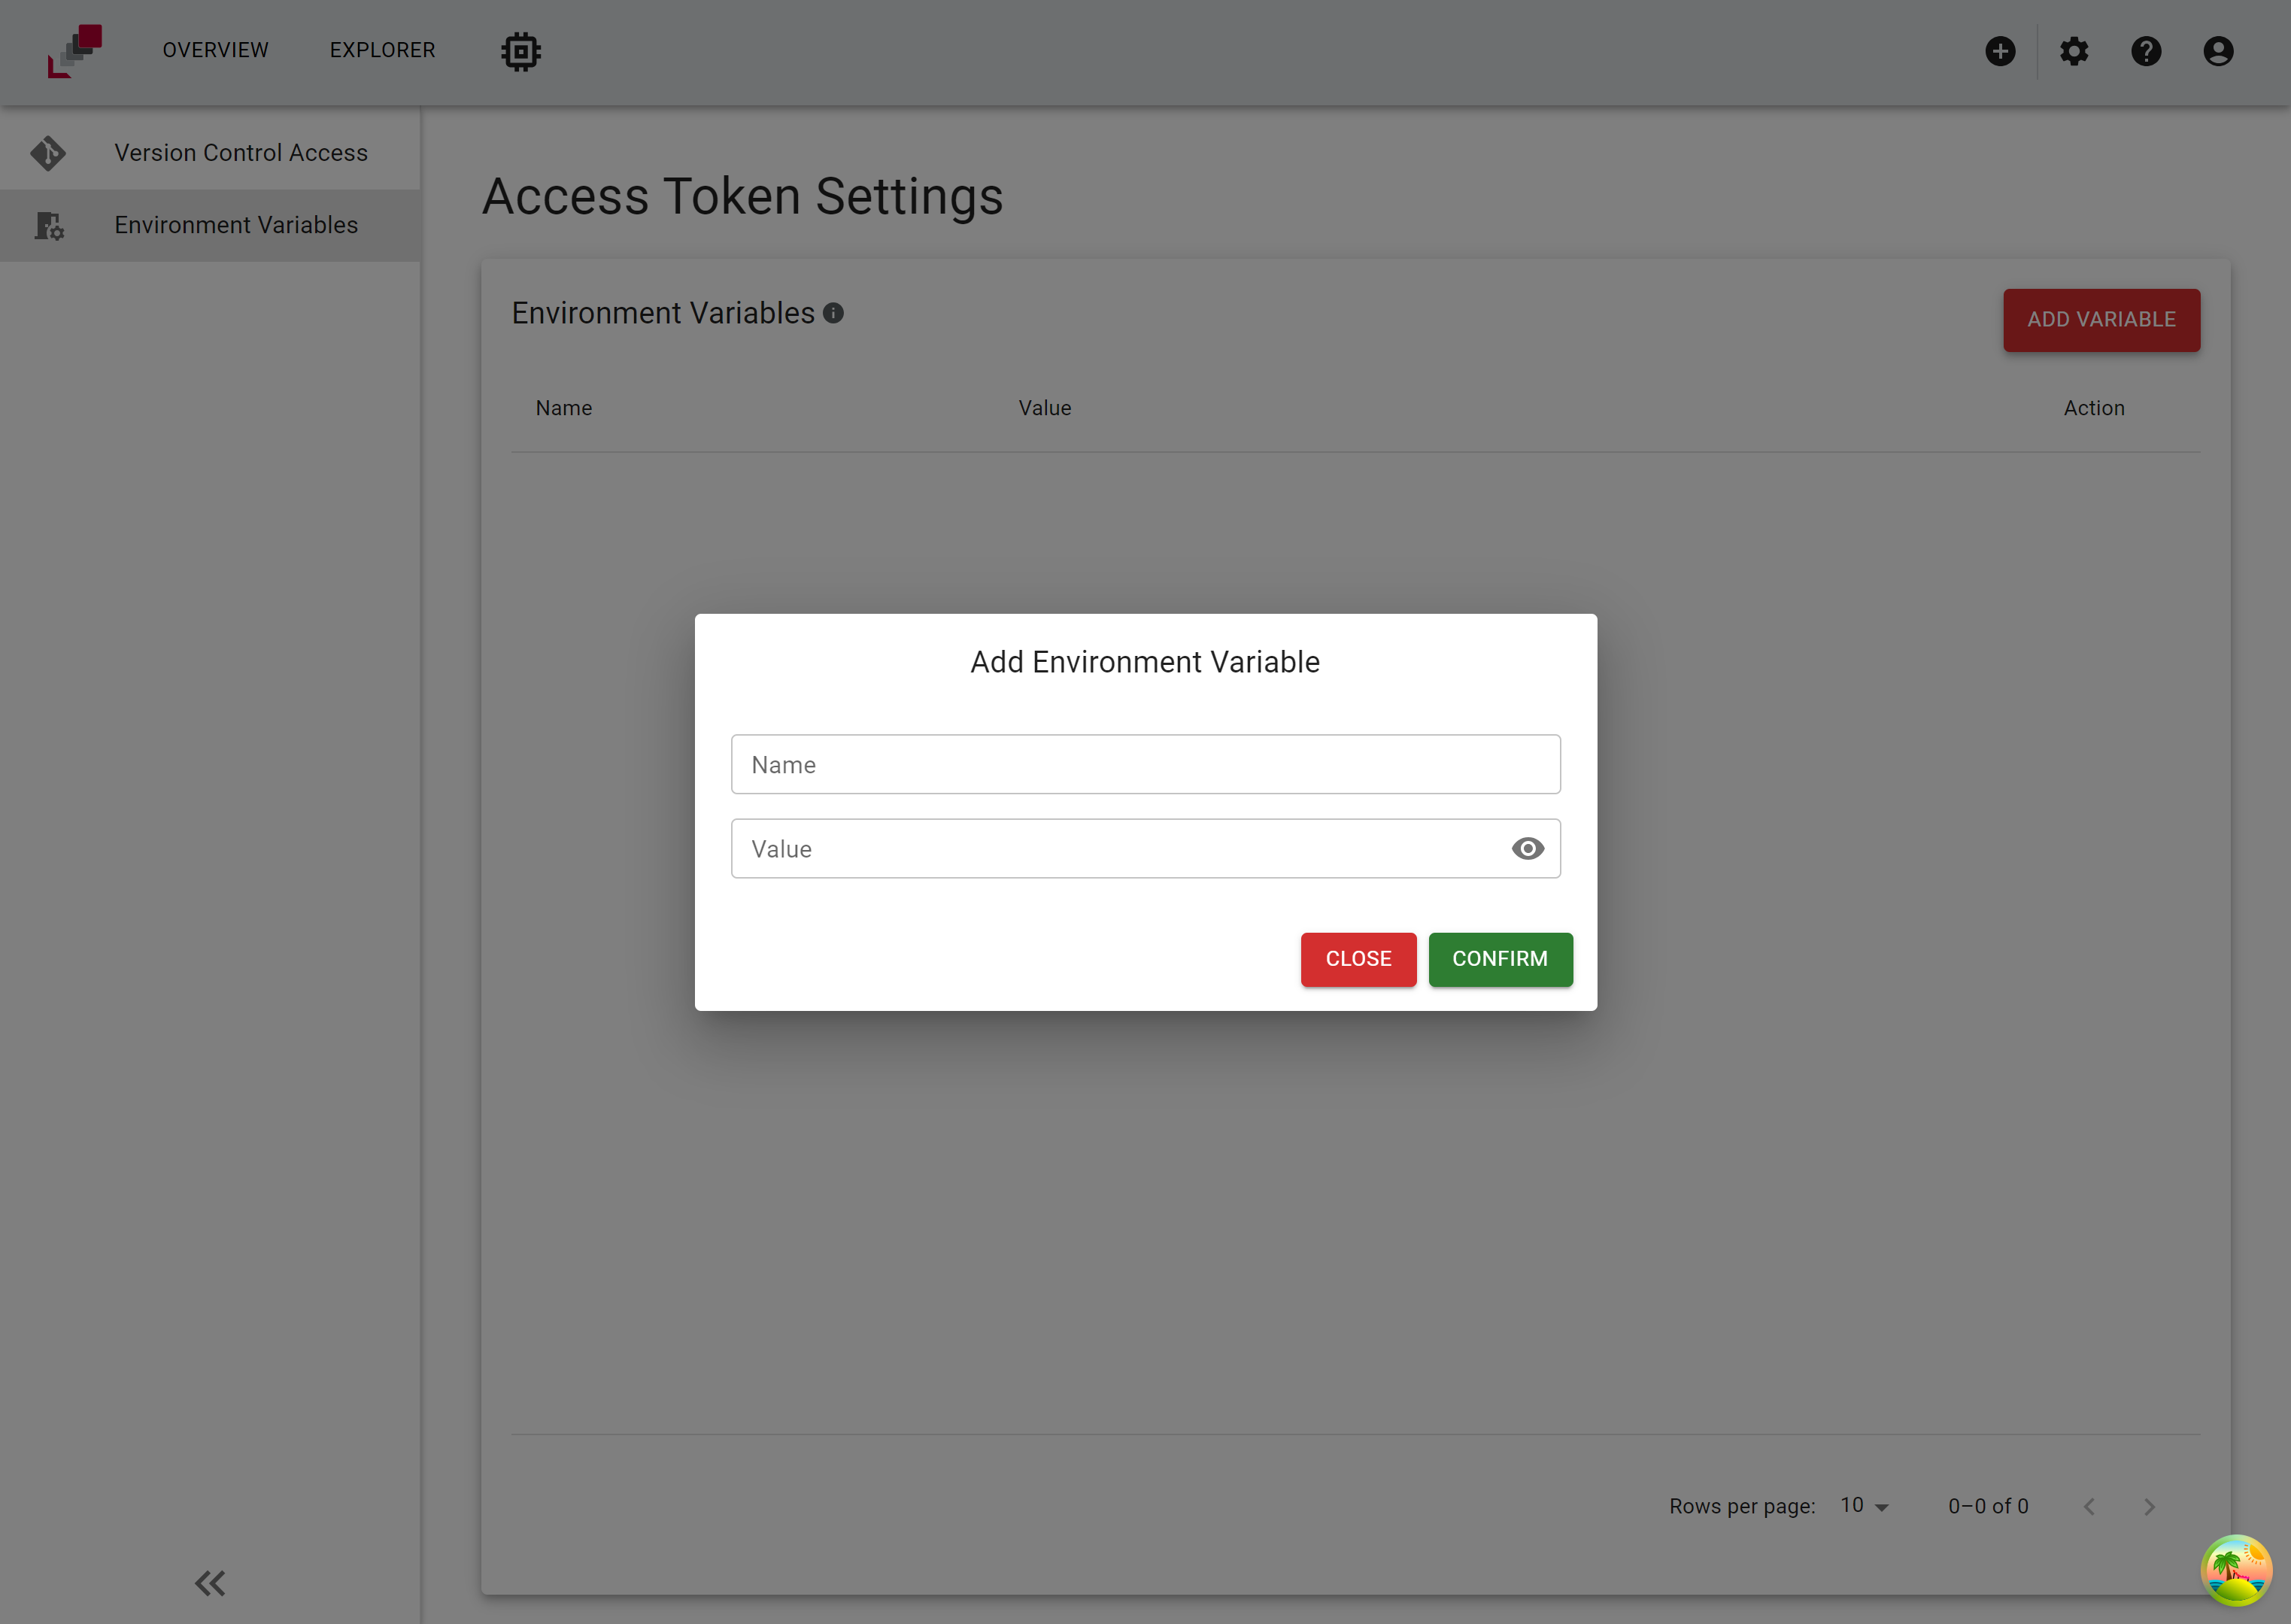
Environment Variables
In the "Environment Variables" tab, you can add environment variables that will be set at the beginning of a session on the VM. These variables can be used to configure the environment for your application.
- Click on the "Add Variable" button.
-
A dialog will open where you can set the following details:
-
Name: Enter the name of the environment variable.
-
Value: Enter the value of the environment variable.
-
Click on the "Confirm" button.